
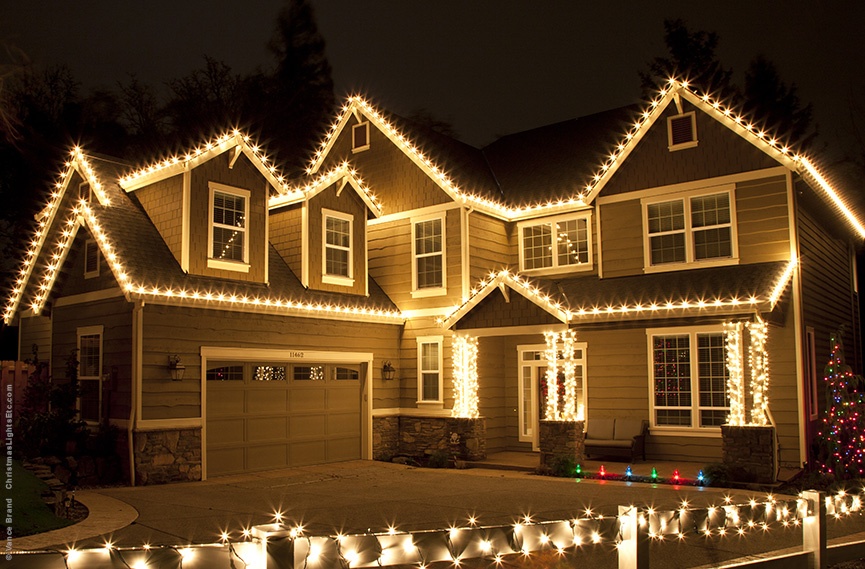
Adding Christmas lights to the roof can be a great way to spruce up your house for the holidays. However, installing Christmas lights for the roof can be tricky if you need help figuring out what you’re doing. This article will provide an installation guide for Christmas lights for the roof so that you can get your home looking festive in no time.
Installing Christmas Lights
- Safety First
Before beginning the project, make sure that you have the correct tools and materials on hand. Gather all of your supplies—such as extension cords, clips, timers, and string lights—so you can easily access them throughout the process. Additionally, check each bulb before plugging in the light set to guarantee it works properly. If not working correctly or if any signs of wear are present, replace them immediately.
- Tools & Materials Needed
Are you looking to light up your roof for the holiday season? Installing Christmas lights may seem daunting, but with the right tools and materials, you’ll be up and running in no time. This article will provide an installation guide for Christmas lights on the roof and a list of necessary items to ensure your project is easy and efficient. You’ll need sturdy, tall ladders to reach your roof. Make sure they are stable and have rubber-tipped feet for extra security. Secondly, you’ll need several rolls of outdoor extension cords so that each strand of lights can be connected safely without overloading any one outlet. Lastly, it’s important to have quality electrical tape or insulated staples available to protect your wiring from moisture or cold weather.
- Measuring the Roof Areas
Measuring the roof area is a crucial step in the process, as it will determine how many strands you need to purchase.
To measure the roof area accurately:
- Start by calculating the length and width of each side.
- Measure from one edge to another, and make sure to include any ridges or peaks that may be present on your roof.
- Multiply these two numbers together for total square footage.
- Don’t forget about any overhangs or eaves – those must also be considered when measuring your roof space for Christmas lights!
Connecting the Wiring
First, understand what kind of Christmas light set you’ll need for your roof and how much power is necessary. Then find out how many strands can be connected; some will require special electrical connectors for safely connecting multiple strands. After gathering all the supplies needed, securely fasten the clips to each corner of your roof so they won’t easily come loose during inclement weather or windy days.
Conclusion:
In conclusion, installing Christmas lights for the roof is a great way to add festive cheer and beauty to your home. With proper planning, installation can be completed quickly and easily. Use quality materials suitable for outdoor use; check local building codes before making any modifications; measure the area accurately to ensure you buy enough lights; if using extension cords or ladders, take extra precautionary measures; make sure all connections are secure and weatherproof. Lastly, enjoy the finished product – it will brighten up any holiday season!